Frequently Asked Question
4. First start and initial configuration
Last Updated 3 months ago
After ITVDesk is installed, use this checklist to complete the first configuration and prepare ITVDesk for VMS/NVR integration.
1. Start ITVDesk and check the Support ID
- Open ITVDesk on the target computer.
- Open the ITVDesk license/activation area and check the Support ID.
- The Support ID identifies the computer for licensing, offline activation, and support diagnostics.
2. Activate or start a trial
- Use Try Free Now for online trial activation where internet access is available.
- Use Unlock Full Version or serial-key activation for purchased licenses.
- For protected or isolated computers, export a request file and complete offline activation in the Customer Portal.
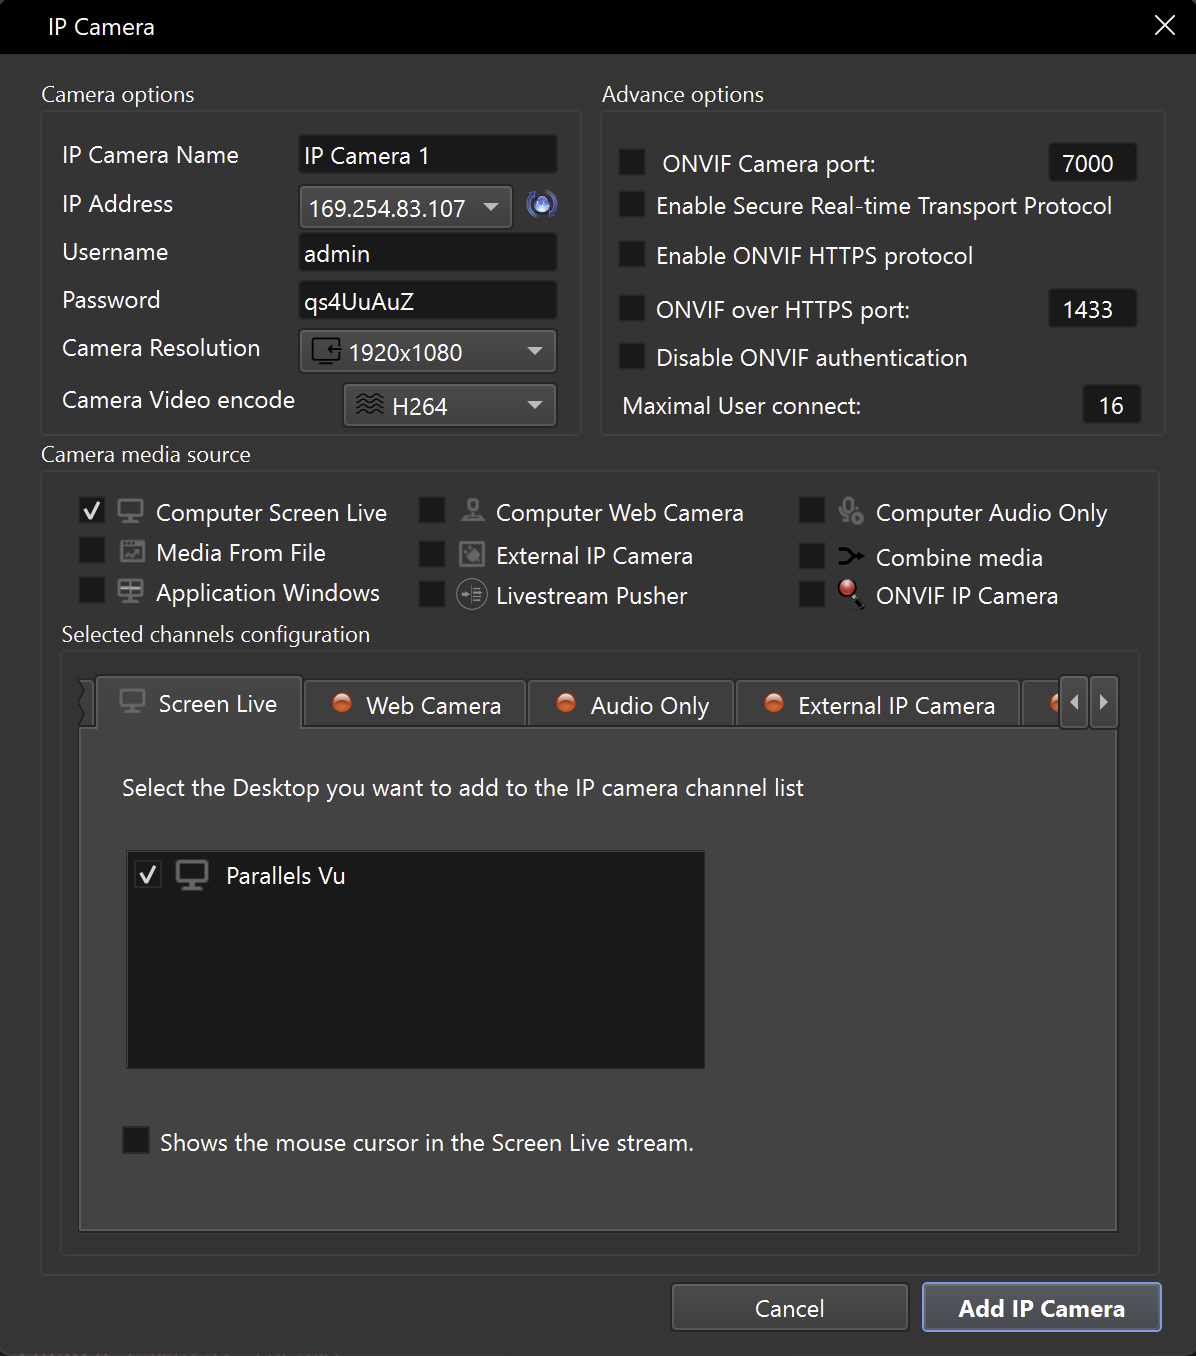
3. Select the video source
- Desktop screen or application window.
- Webcam or capture device.
- Media file source.
- External RTSP/SRT/RTSPS source.
- Combined layouts or multi-channel configurations where supported by your ITVDesk edition.
4. Configure stream and performance settings
- Select resolution, frame rate, bitrate, codec, and audio options according to your VMS/NVR requirements.
- Use GPU_ZERO acceleration where available for high-performance deployments.
- Use optimized CPU encoding when GPU acceleration is not available or not required.
- Enable OSD, subtitles, labels, timestamp, or operator context when needed.
5. Configure ONVIF/RTSP services
- Check the ONVIF device name and network interface/IP address.
- Confirm ONVIF, RTSP, RTSPS, HTTPS, SRT, or SRTP settings according to your security policy.
- Configure authentication credentials if your VMS/NVR requires username and password.
- Allow the required ports in the local firewall.
6. Save and test
- Save the configuration.
- Confirm that the stream starts locally.
- Add ITVDesk to your VMS/NVR and test live view, recording, audio, and any required control workflows.
For the full guided manual, see First Start and Initial Configuration and Adding the First Video Source.